
Introduction
Every developer-focused community around a product or tool needs documentation to thrive. This documentation guides the community to understand and effectively use the product, tool, or platform.
In developer relations, technical writers and developer advocates play a crucial role in creating and managing such documentation. This blog post will demonstrate how to set up a GitBook for your company and use it to share documentation effectively.
Let’s learn!
What is GitBook?

GitBook is a documentation tool used to write and manage technical documentation for companies or organizations. This tool offers a simple but powerful platform for technical writers within a developer relation team to manage developer-focused resources such as product SDK documentation or API documentation.
GitBook supports real-time collaboration and enables multiple contributors to the documentation. This tool can be integrated with issue-tracking systems, continuous pipelines, and cloud storage like Jira, Linear, GitHub, Discord, Mailchimp, and lots more. The importance of Gitbook is to create an easy way for technical writers, developers, and content creators to create useful public or private documentation.
Prerequisites
This blog is a hands-on guide. If you’d like to follow along, ensure you have an account on GitBook.
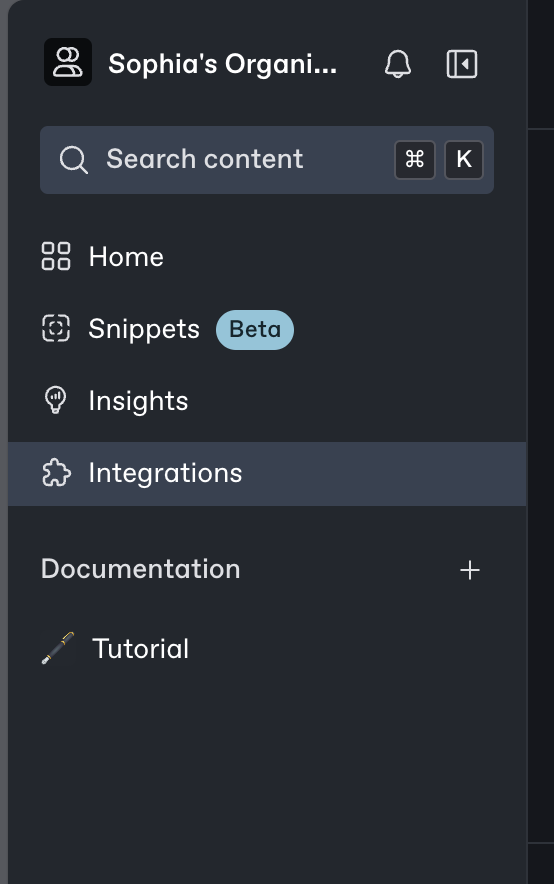
Setting Up GitBook
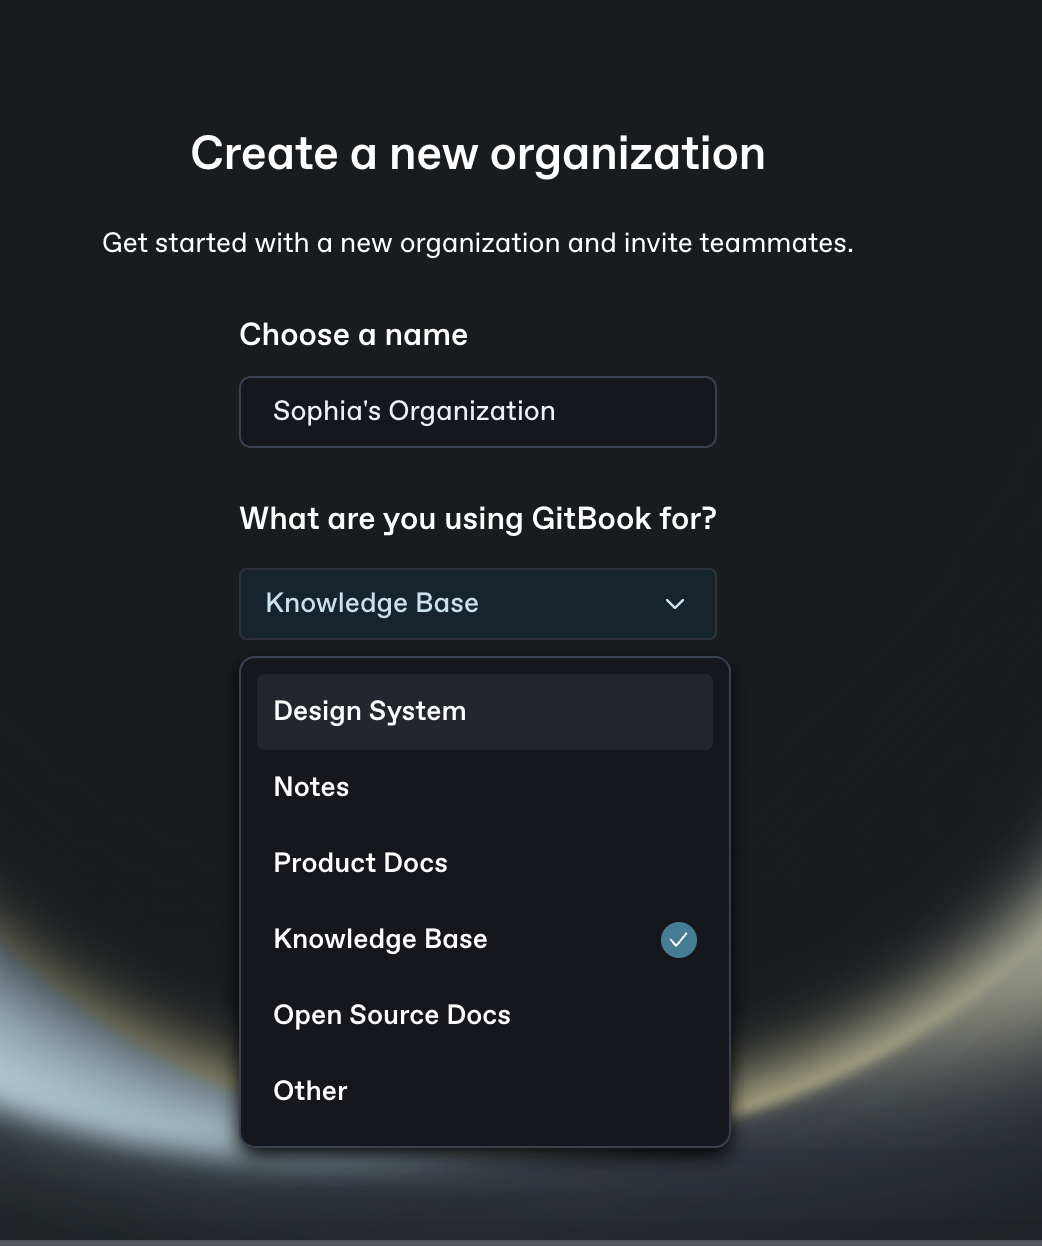
- After signing up, you will be prompted to create an organization and choose what you are using Gitbook for.
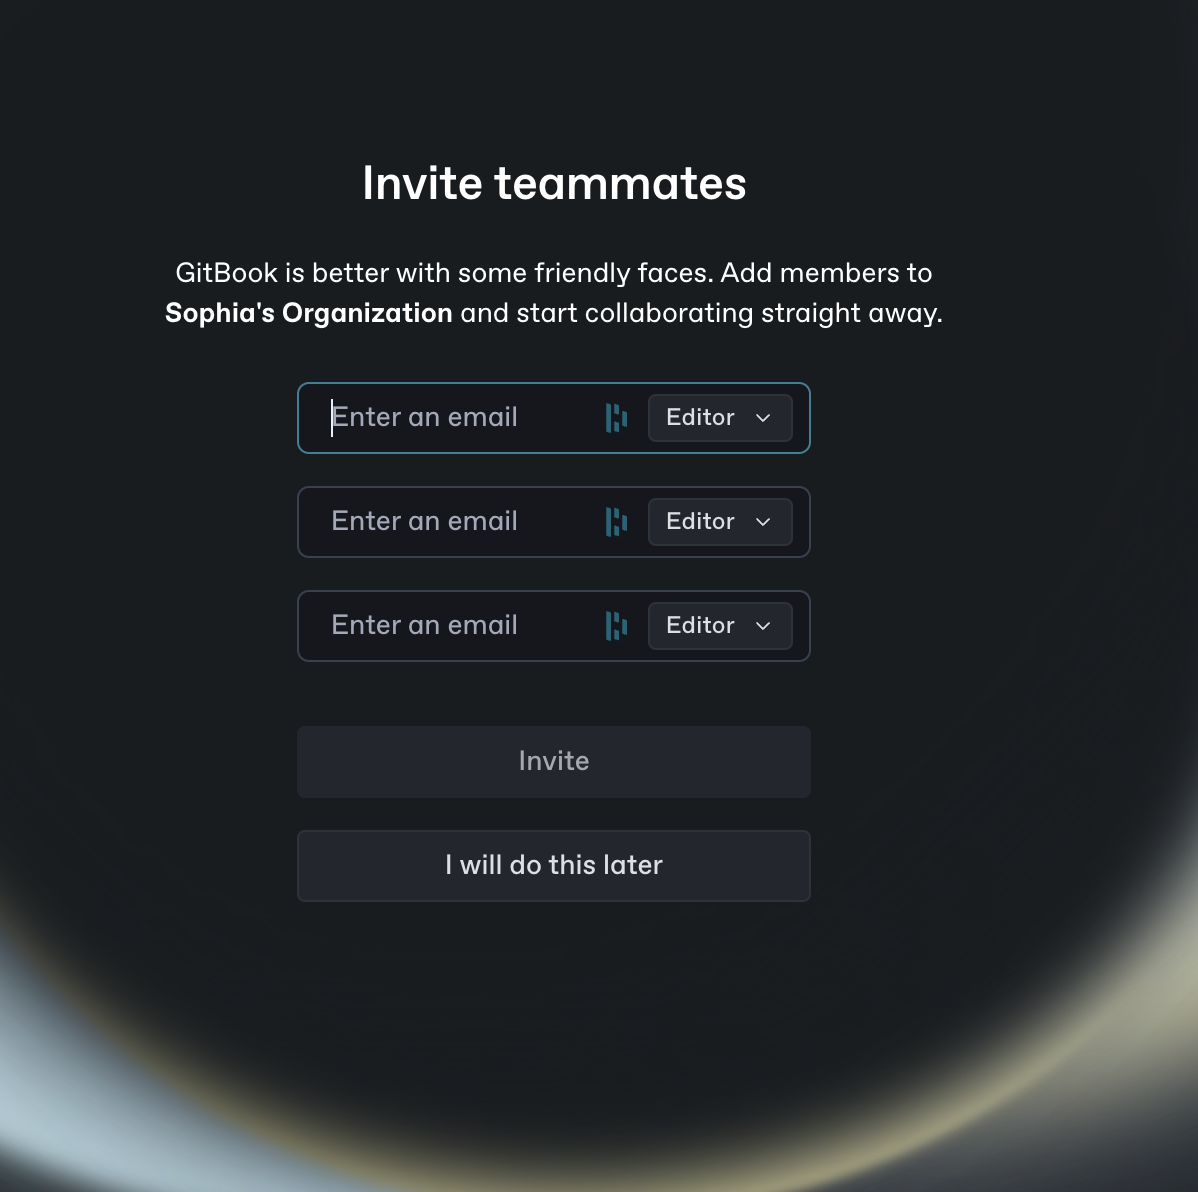
- The next screen will prompt you to invite your teammate, which you can do immediately or later.
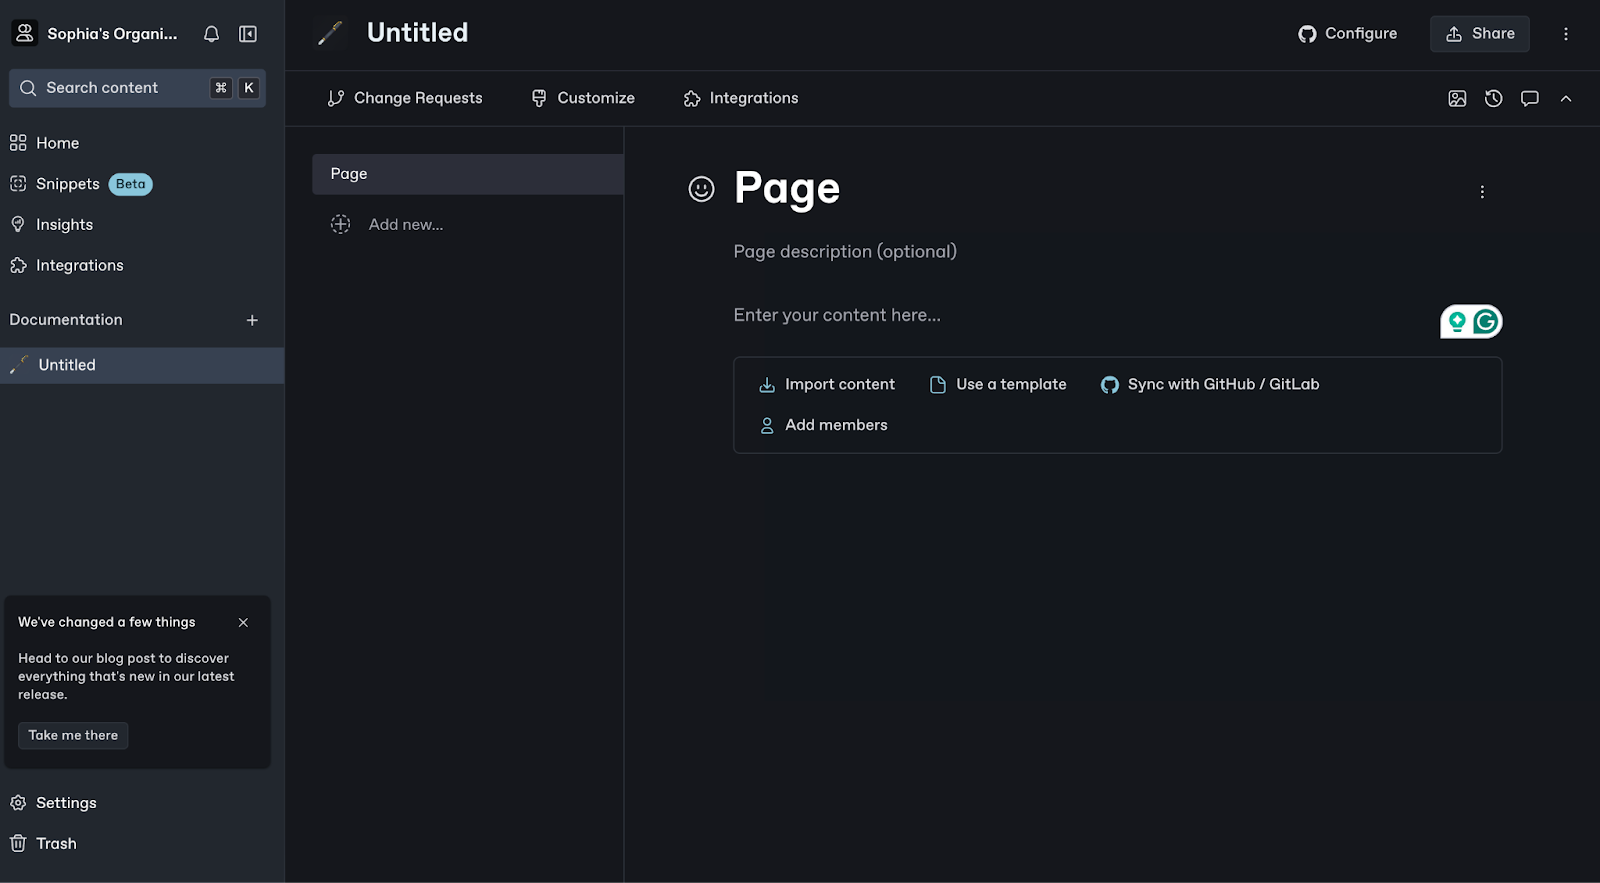
- Once you are done setting up an organization, the next step is to start creating your first documentation page. Choose a Documentation and Page name.
- Gitbook lets you create more than one organization for multiple project documentation.

Now that you’ve set up your GitBook organization. Let’s see how to set up pages.
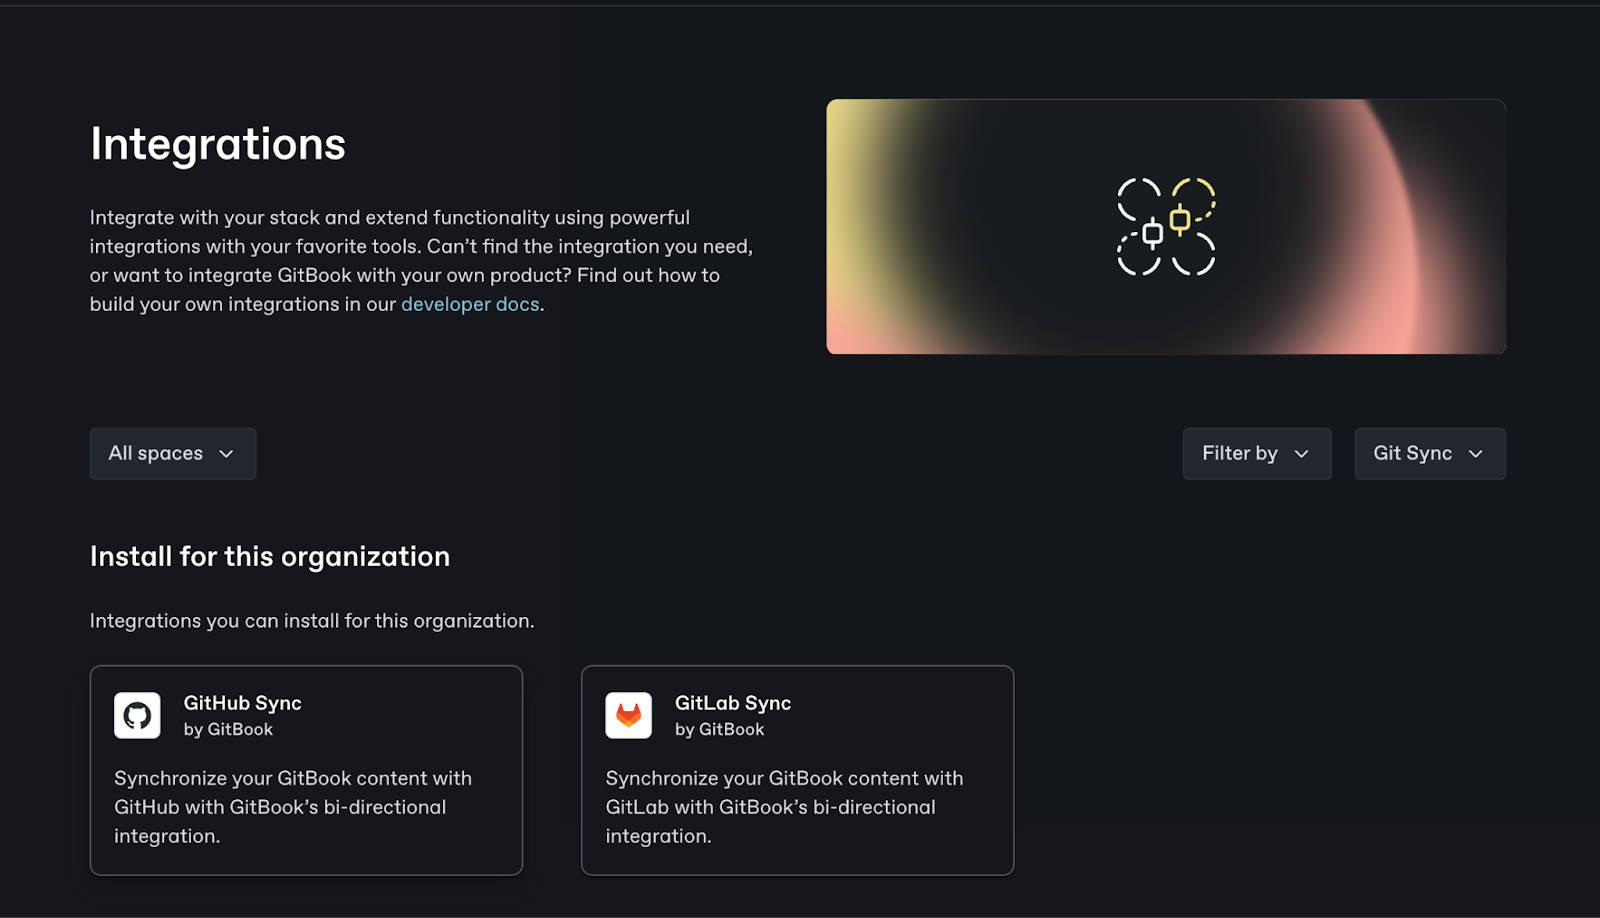
Linking Your GitHub Account
As a user, you can easily configure your GitHub or GitLab account to import content or codebases from your repo to your documentation.
- Click the Configure button to configure a Git access.
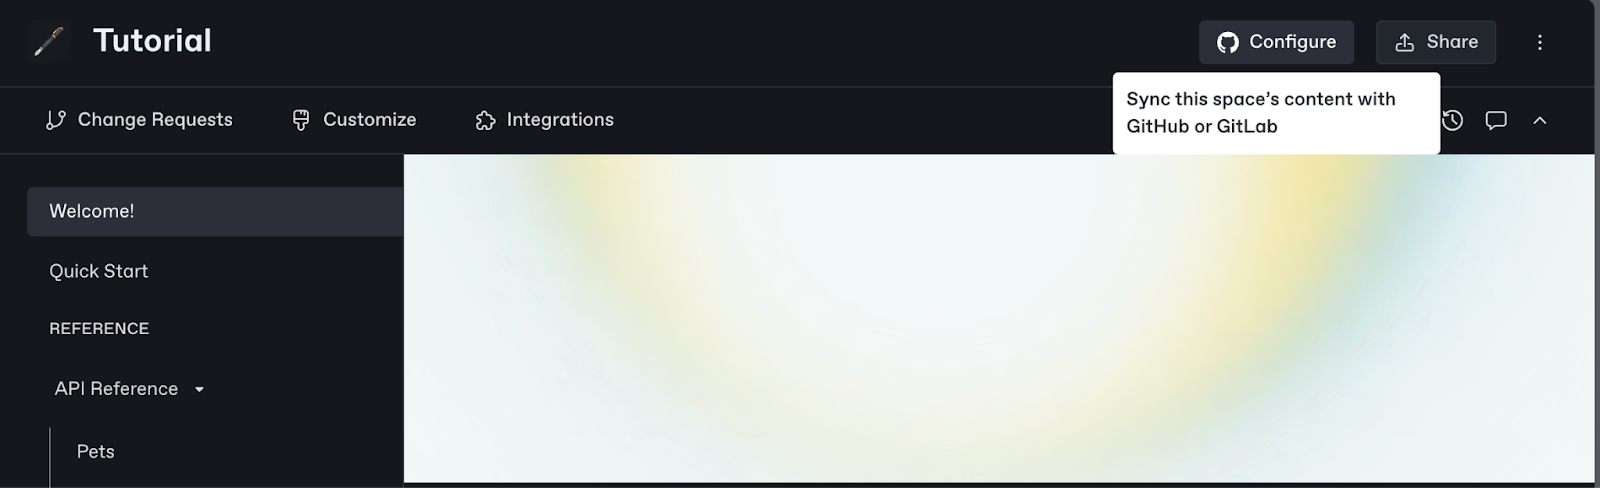
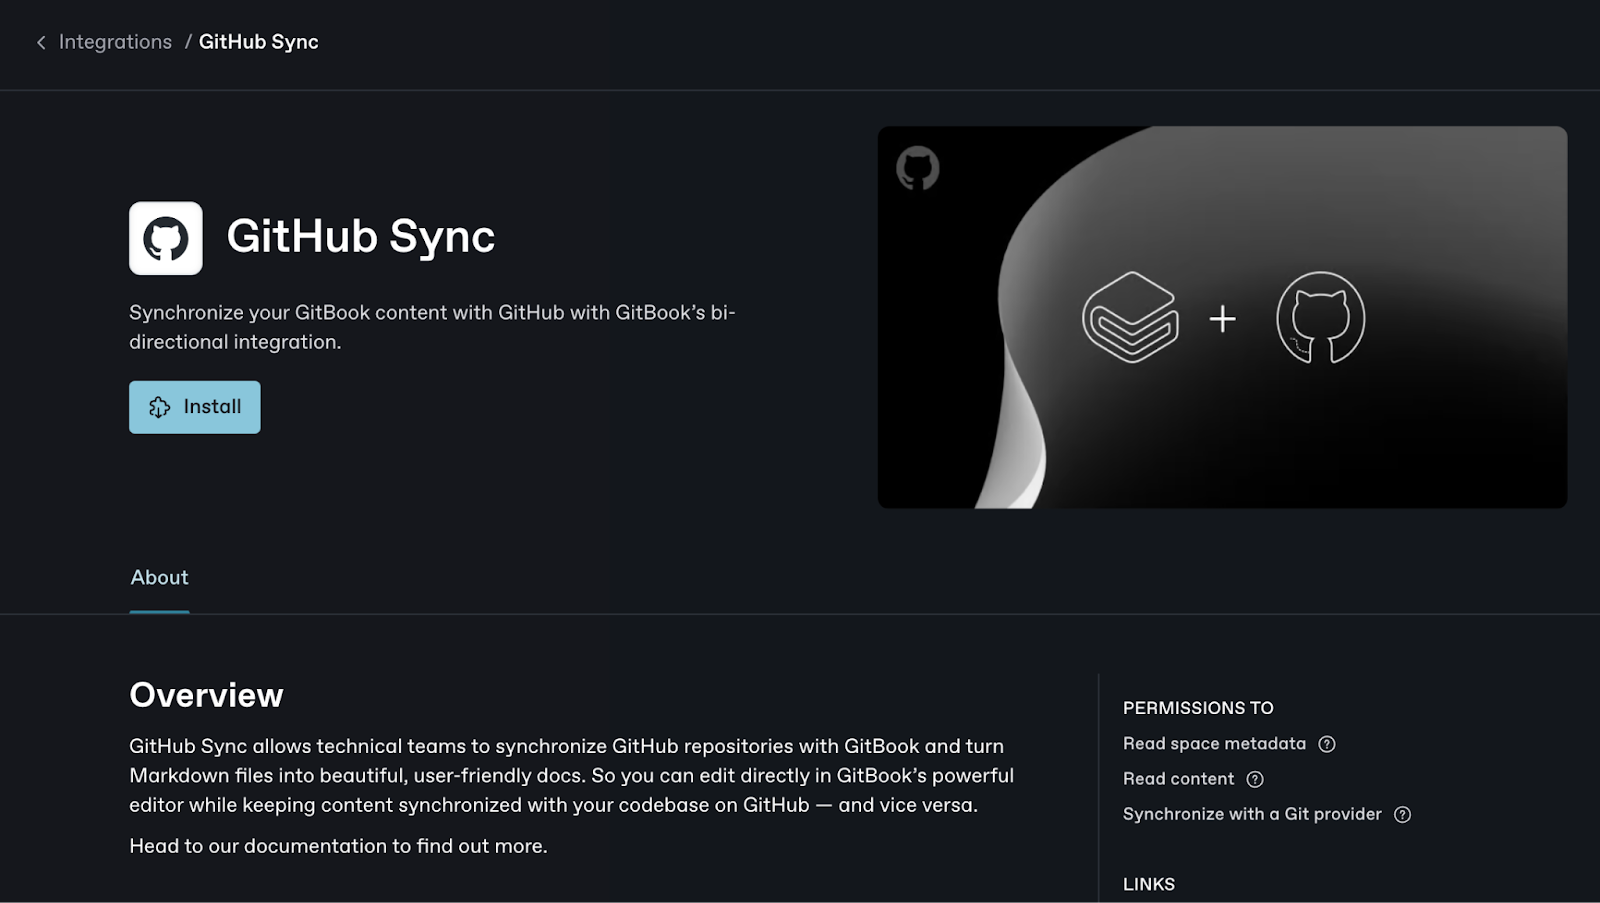
- On the next screen, you should see the Git Sync integration page. Select the GitHub sync to connect to your GitHub account.
- It will prompt you to install GitBook on your GitHub account; click Install to proceed. This is usually a swift process.
- To confirm it worked. You will be asked to enable git access on a Space.
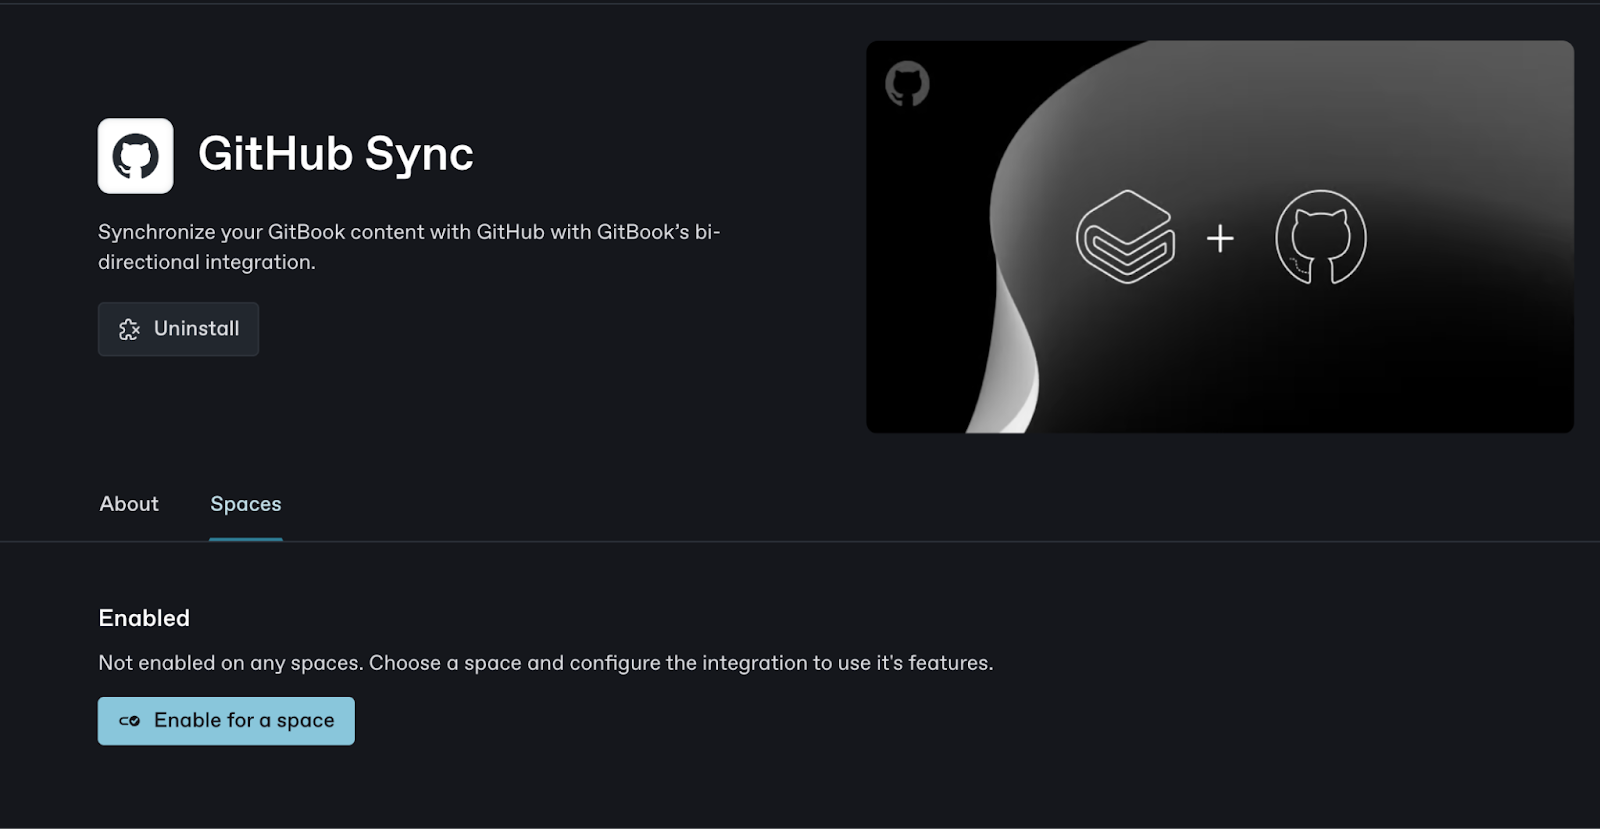
- To enable a space, select a Space name and click Enable or choose to Toggle the “Enable all Spaces” button so all your projects have Git integration access.
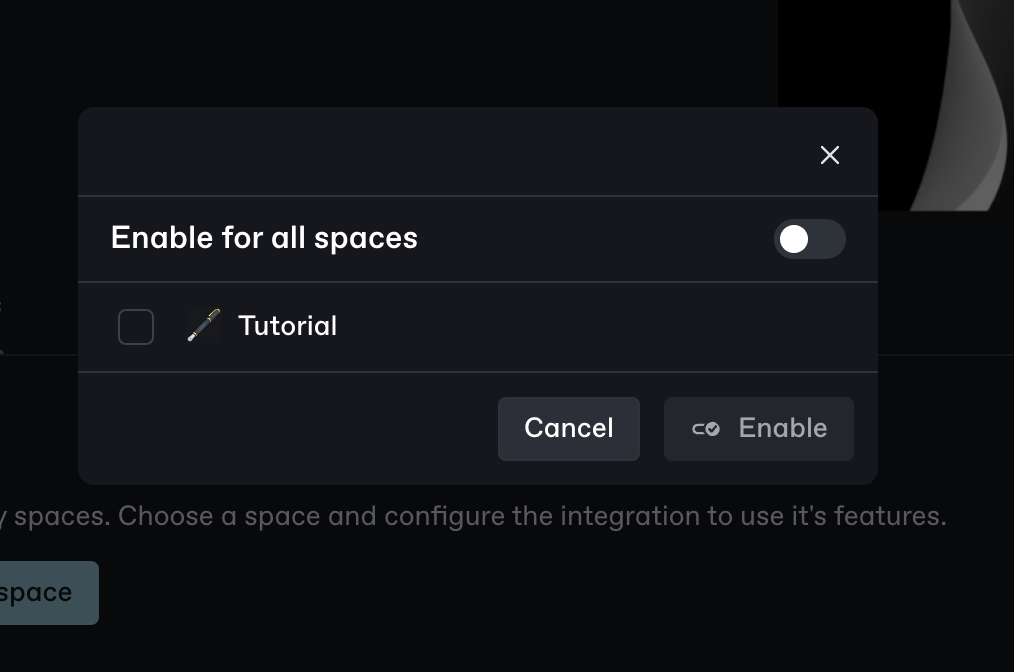
And that’s it! You have successfully connected your GitHub account to your project. The GitLab process is similar so that you can follow the same steps in this section.
Structuring the Documentation
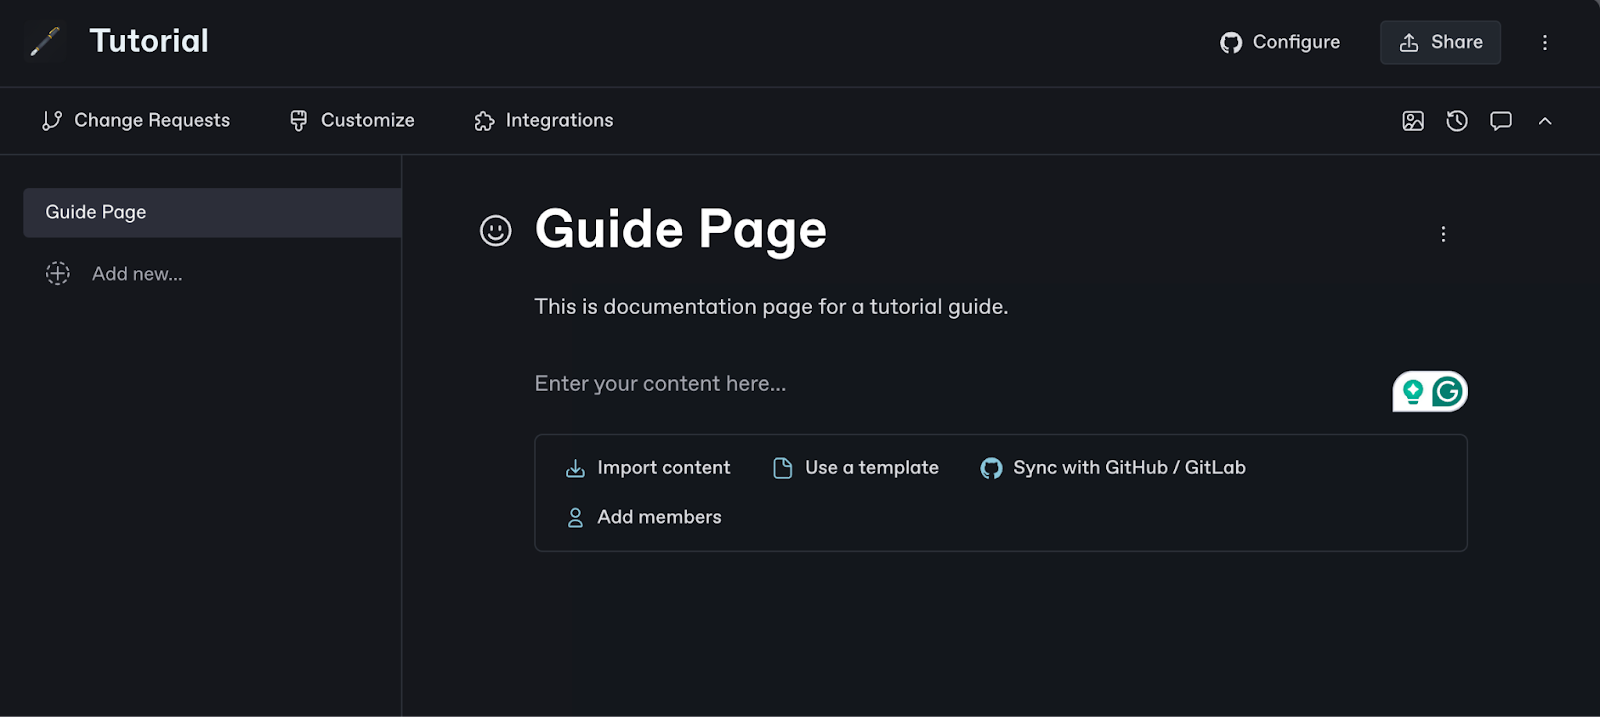
To structure your documentation, you start by creating a new page. This page serves as a hub for your documentation.
- Create a new page by clicking the + on the Documentation. Once created, name the documentation and the page.
- You can import your content, use a template, or Sync with GitHub or GitLab to create a structure.
Power Tip! 💡
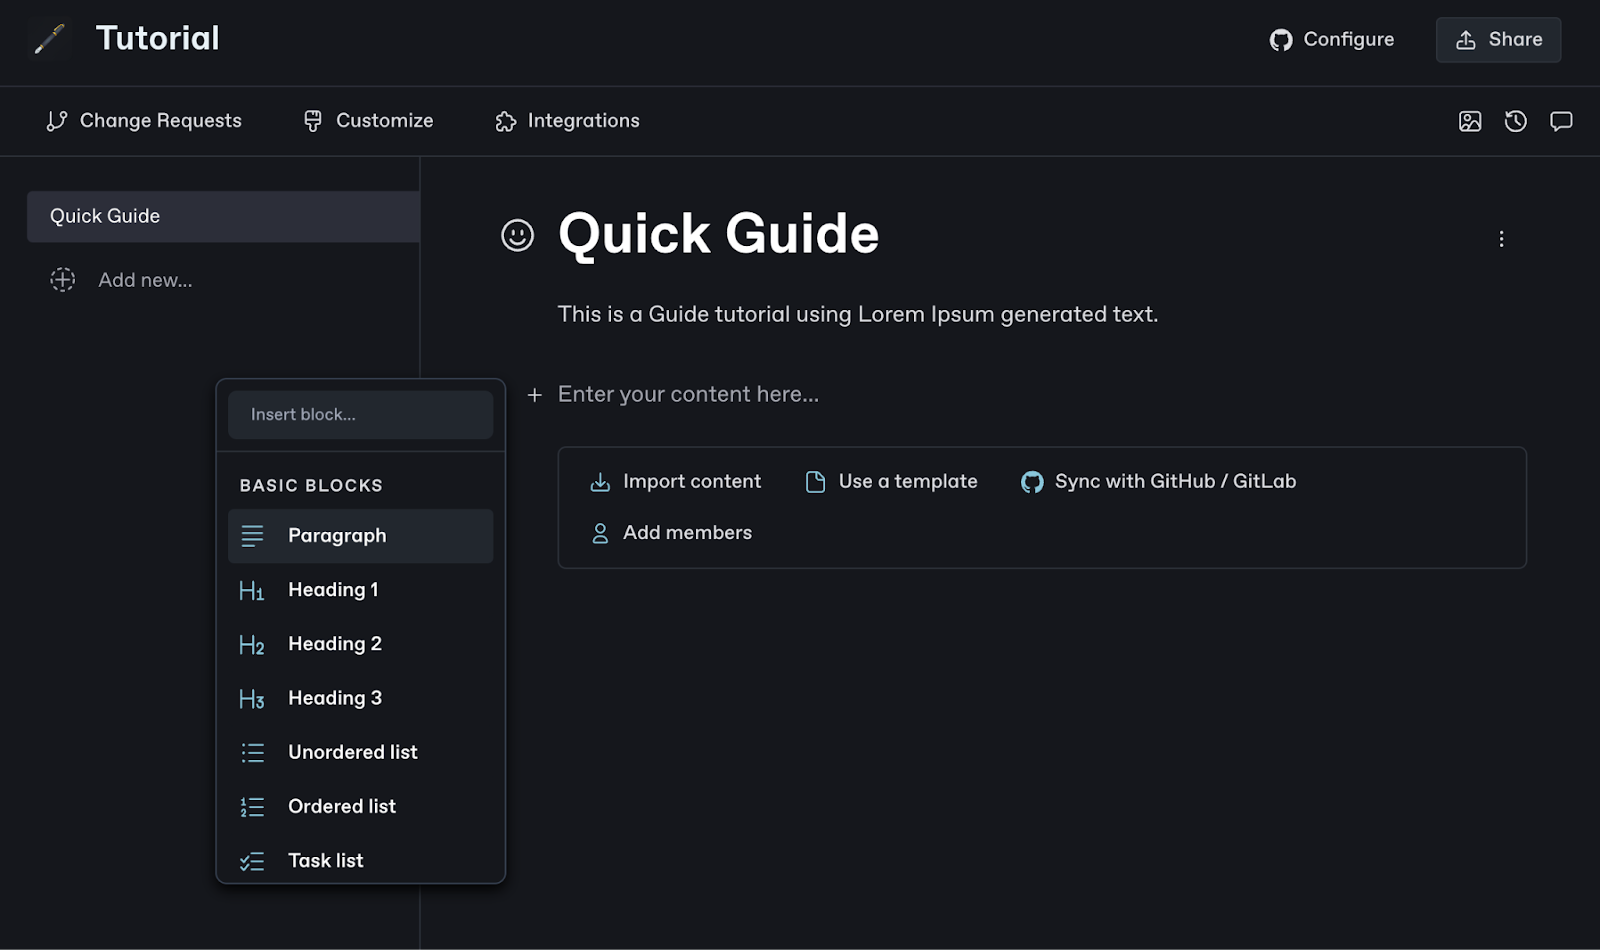
Enter the backslash (/) in the editor to get any markdown formatting in your documentation.
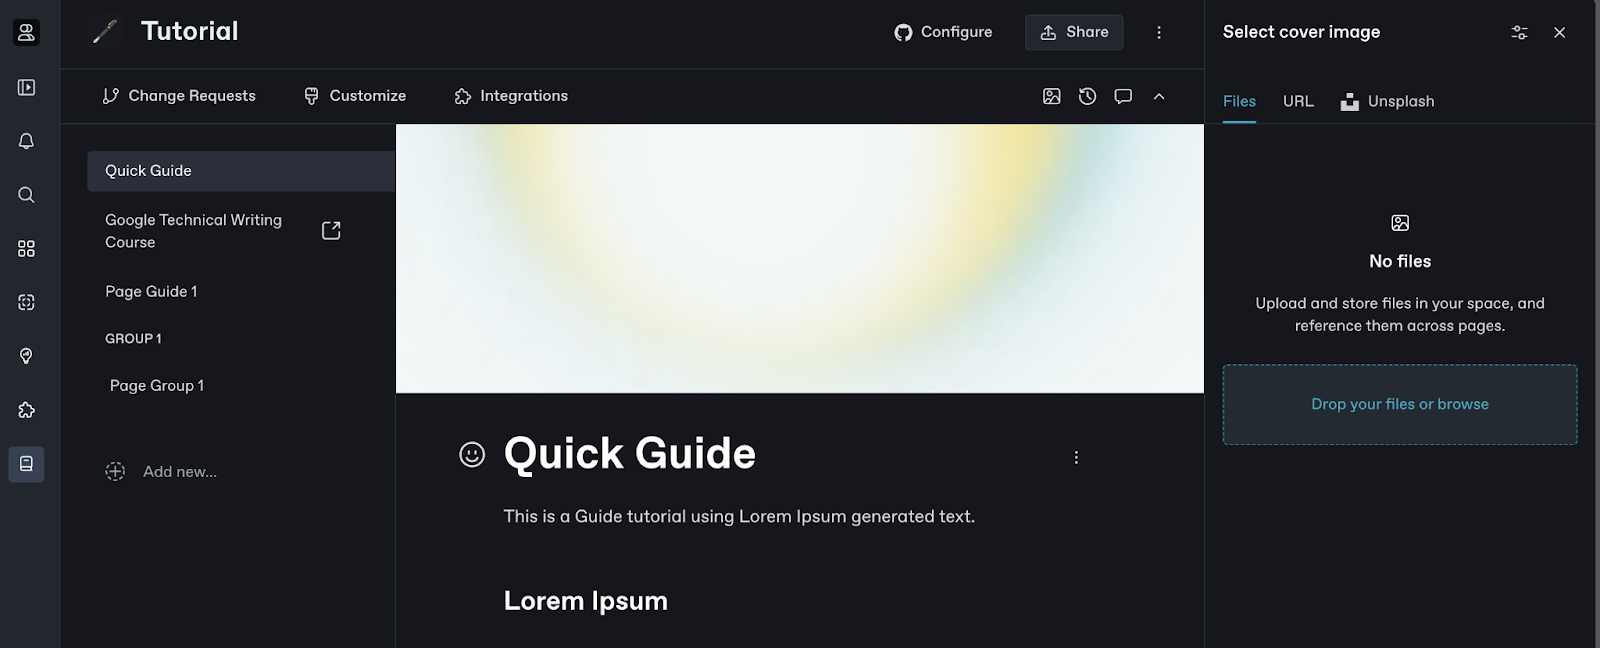
- Start by adding a page cover to make your documentation more pleasing.
- You can use markdown formatting to structure and add your content to the page.
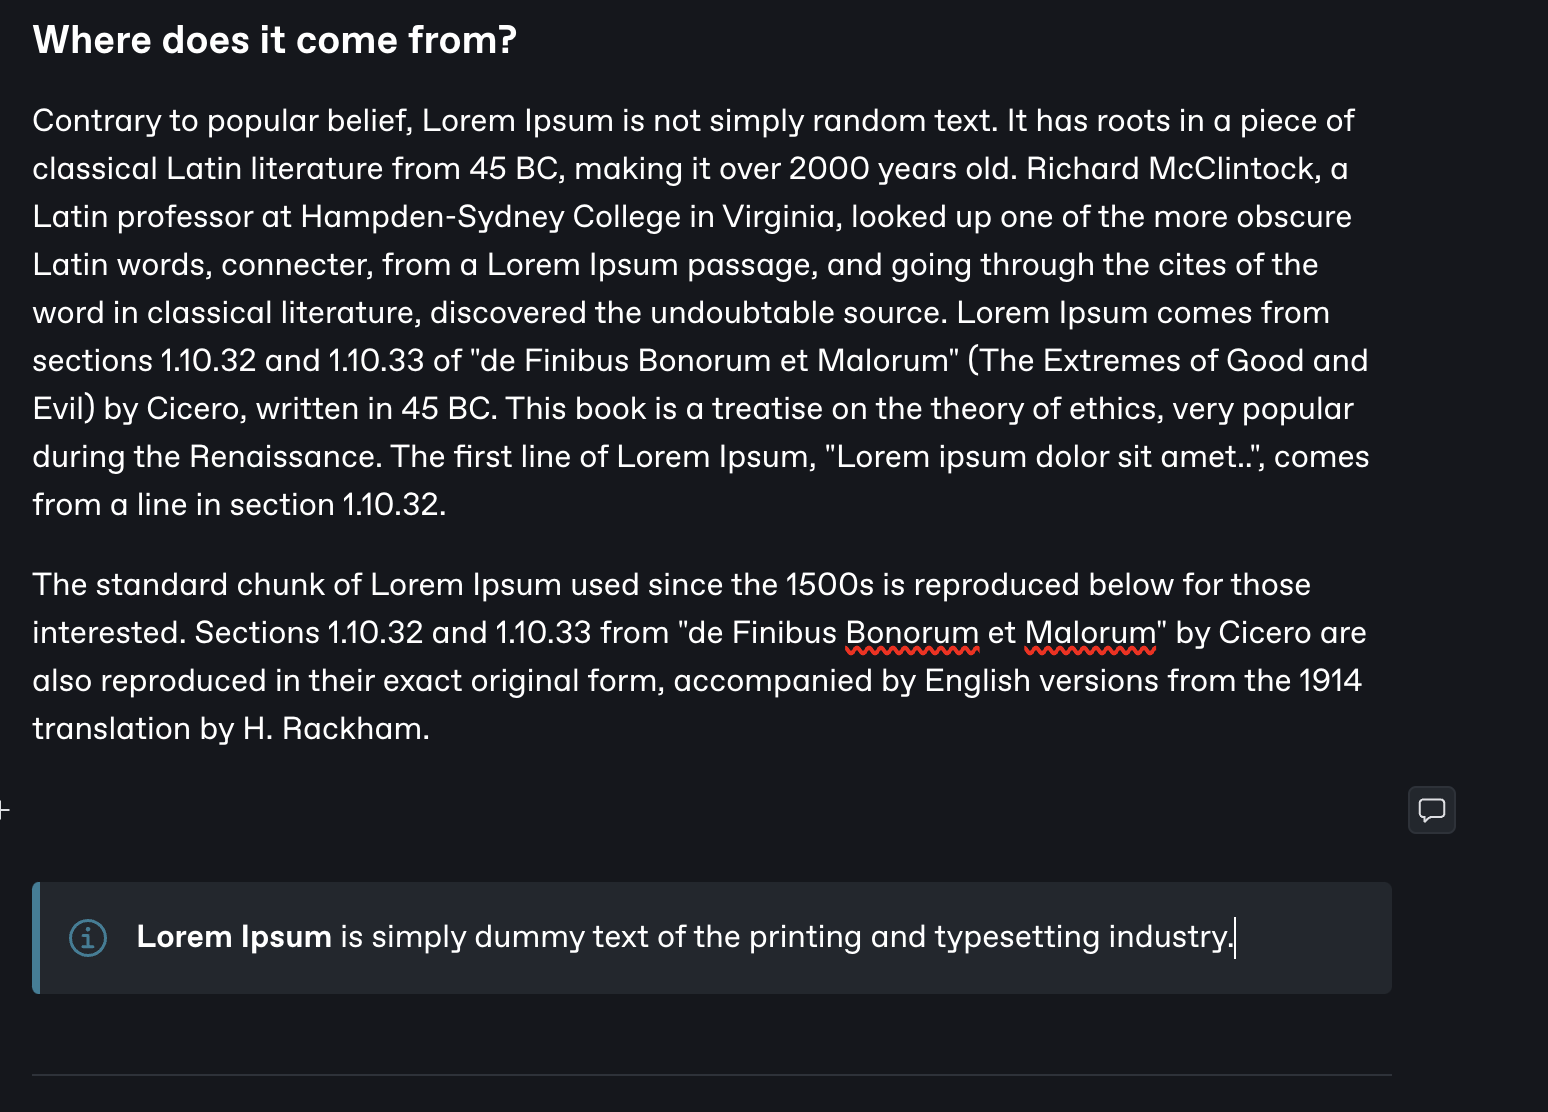
- You can use the Hint formatting to add an emphasized paragraph similar to a callout.
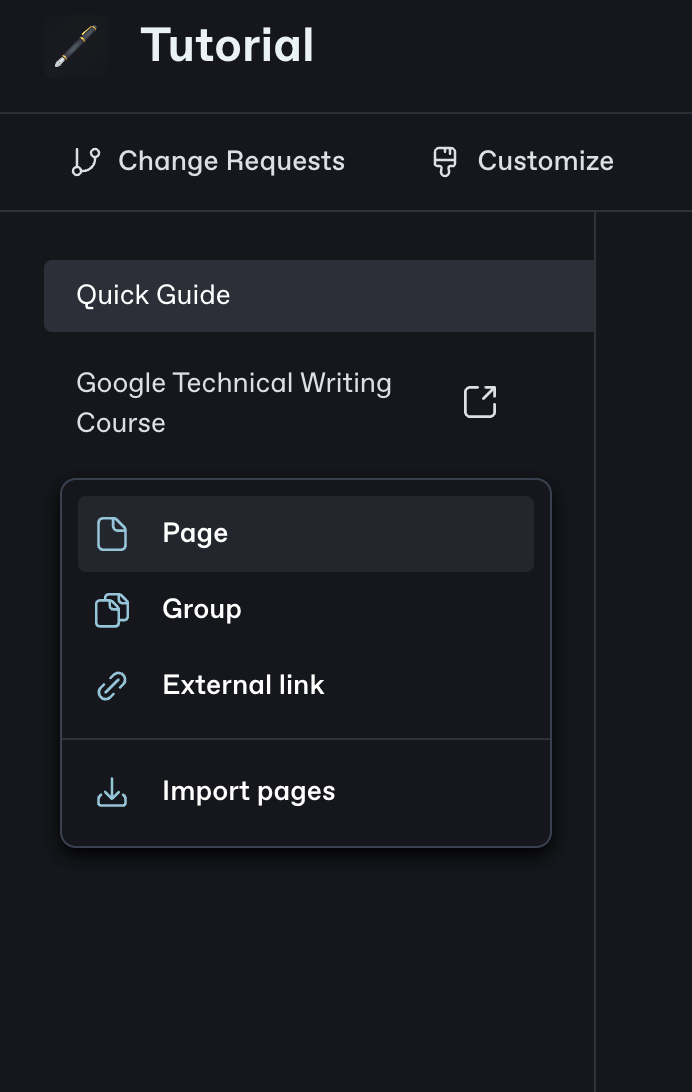
- To create a new page within that project, click “Add new..” and select Page. You can add links and groups the same way or import pages.
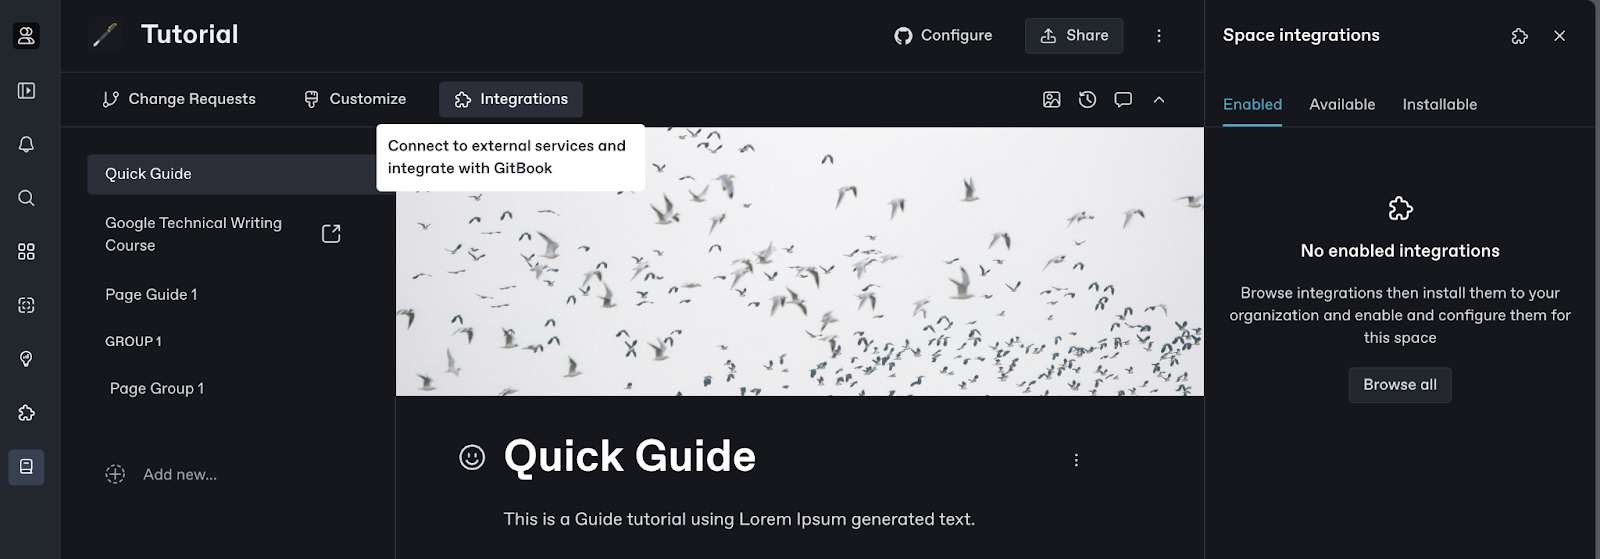
- To add integration to your project, click Integrations and enable the tool you want to integrate.
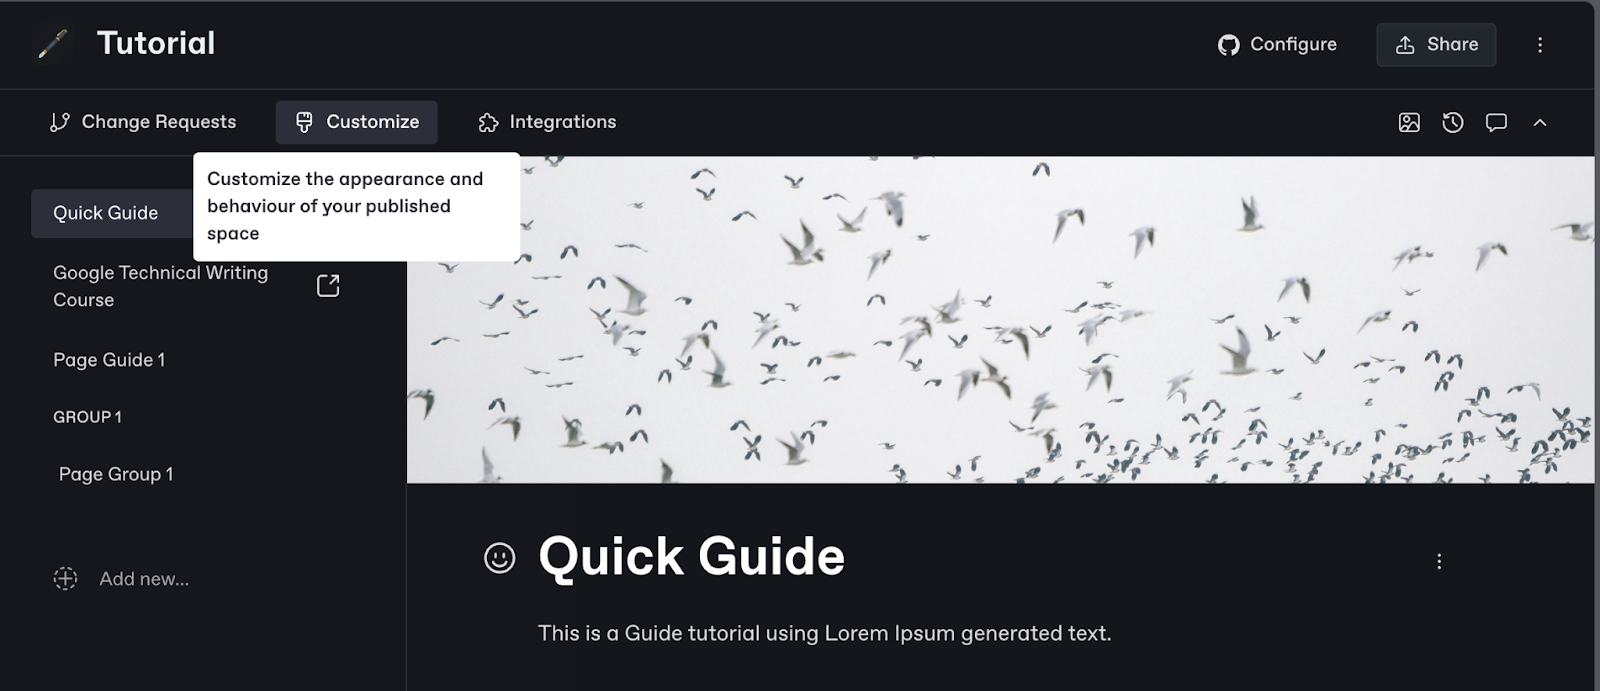
- Once you are done adding the content to your GitBook project, customize.
- The next screen should give you a preview of your documentation and General settings to adjust.
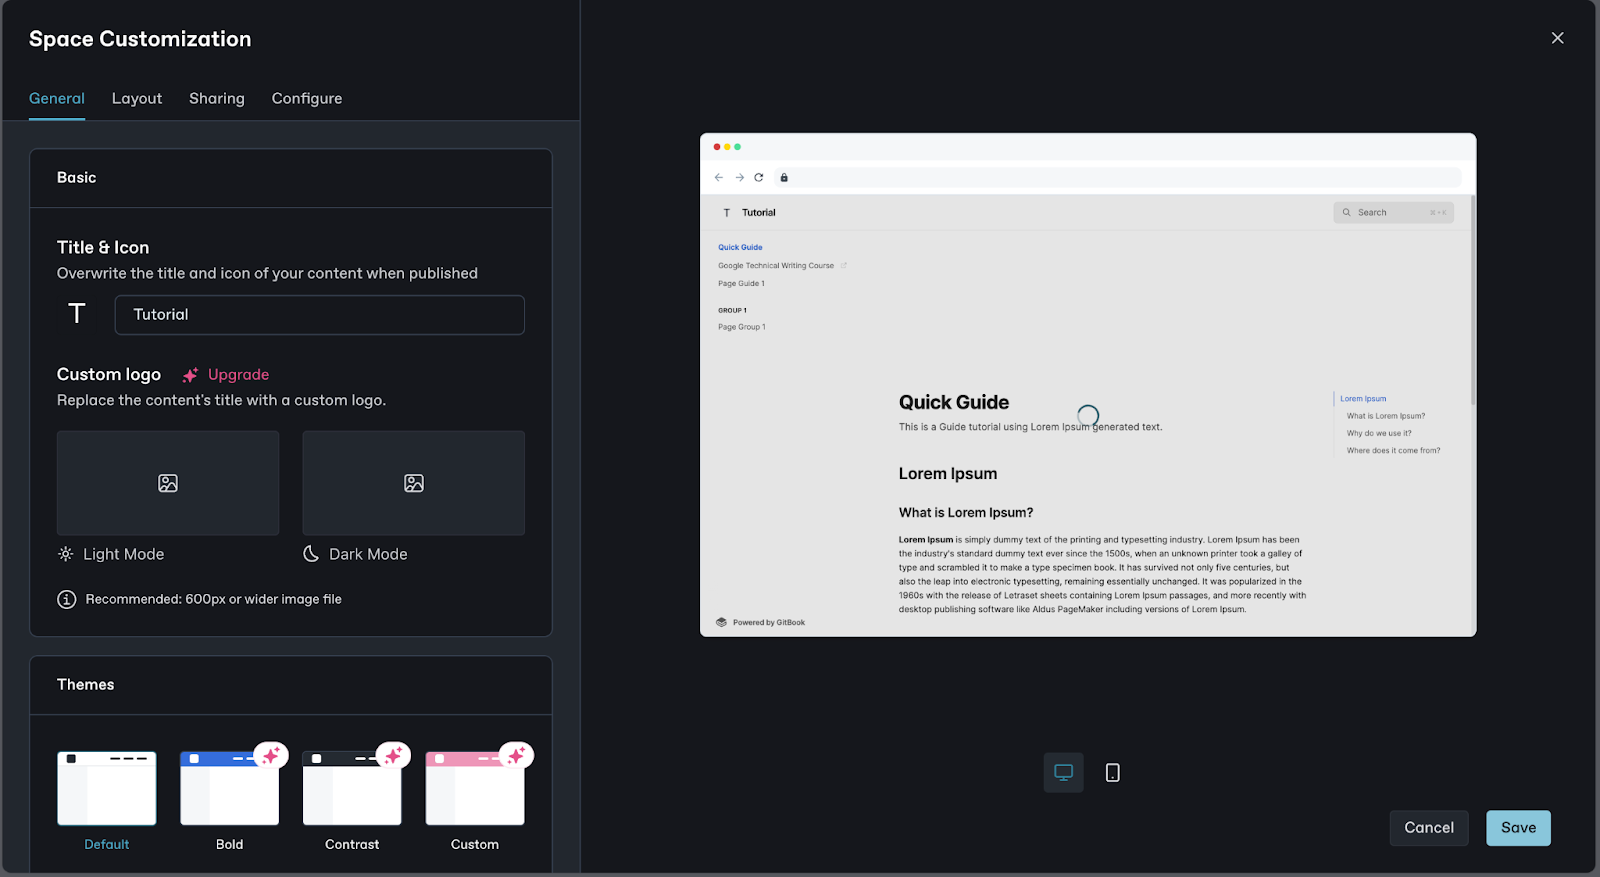
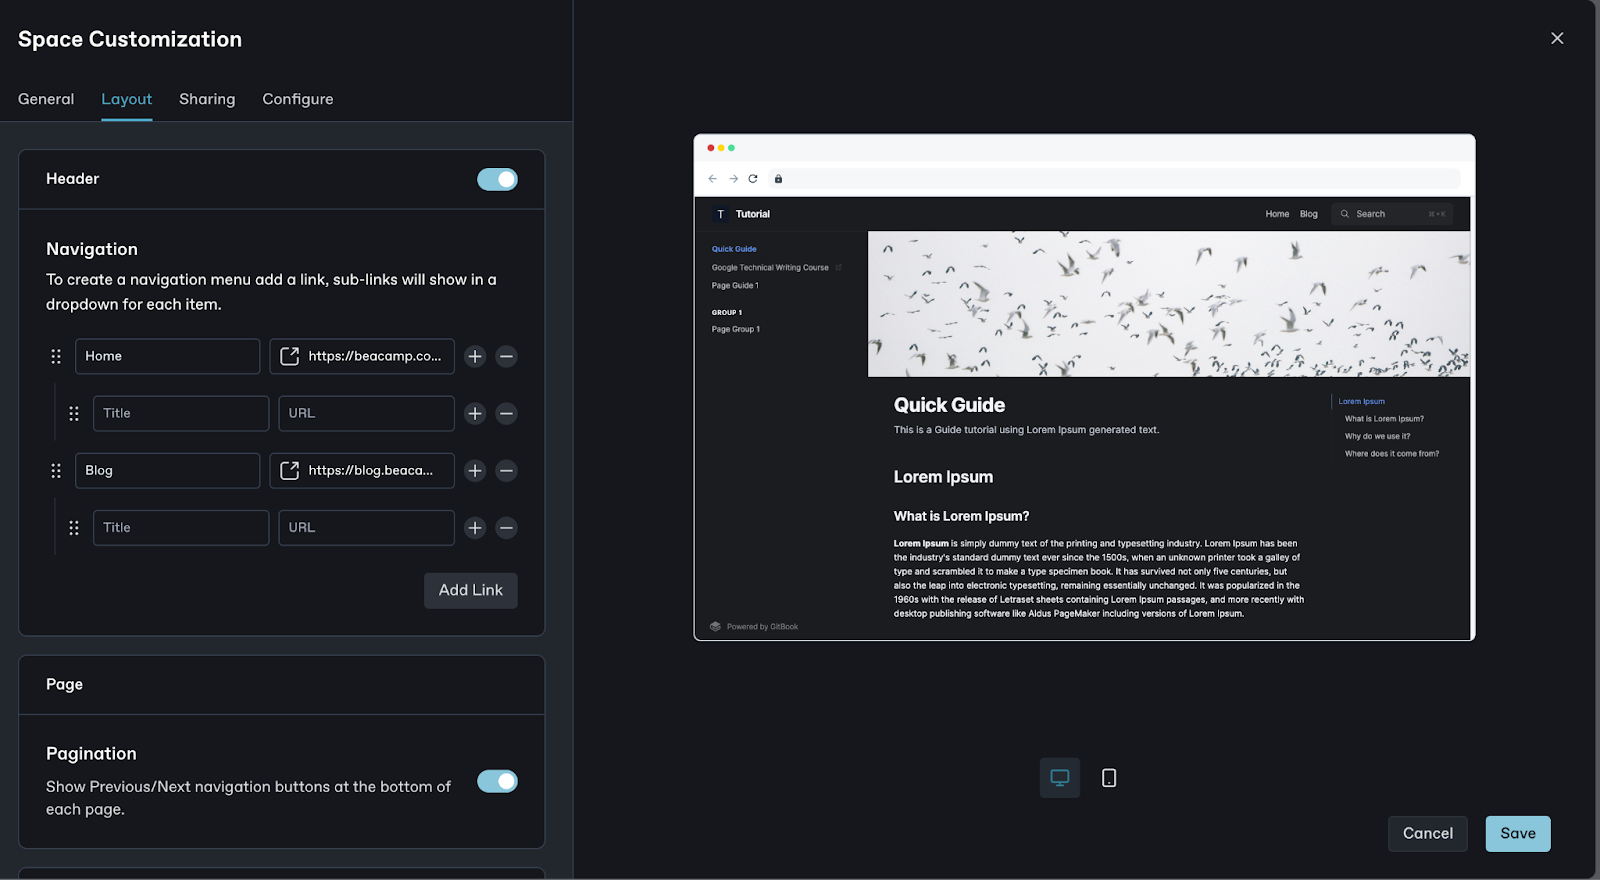
- You can click on Layout to adjust the documentation’s header, pagination, and footer.
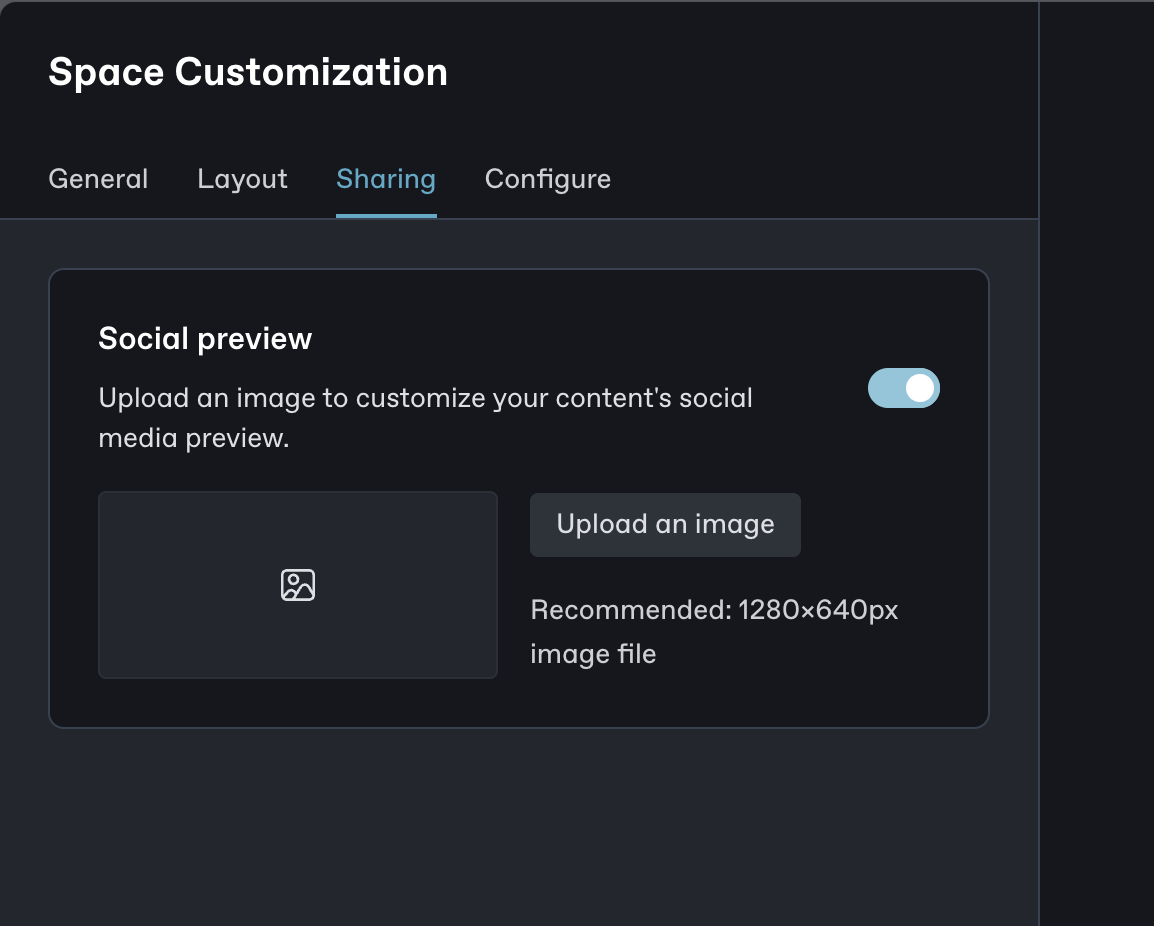
- Click on Sharing to add an image for social sharing
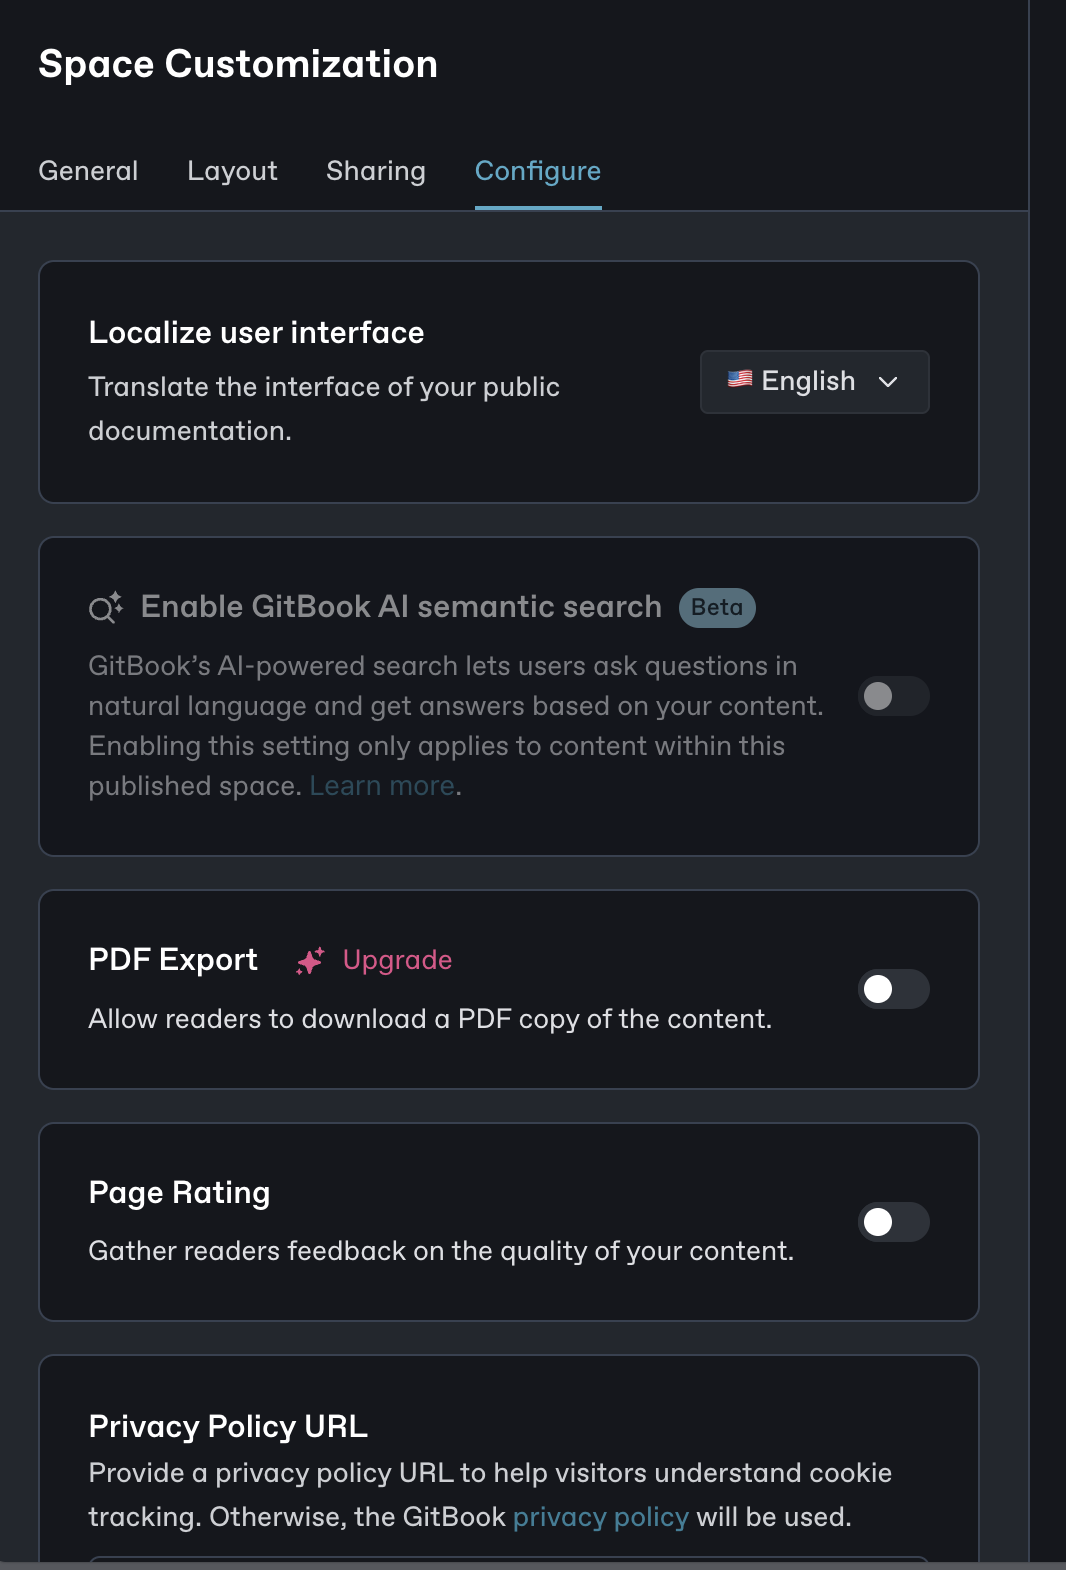
- Click on Configure to add a language, export to PDF, add a page rating, and add a privacy policy URL.
Once you are done configuring your project, click on Save to save it.

Collaborating & Publishing
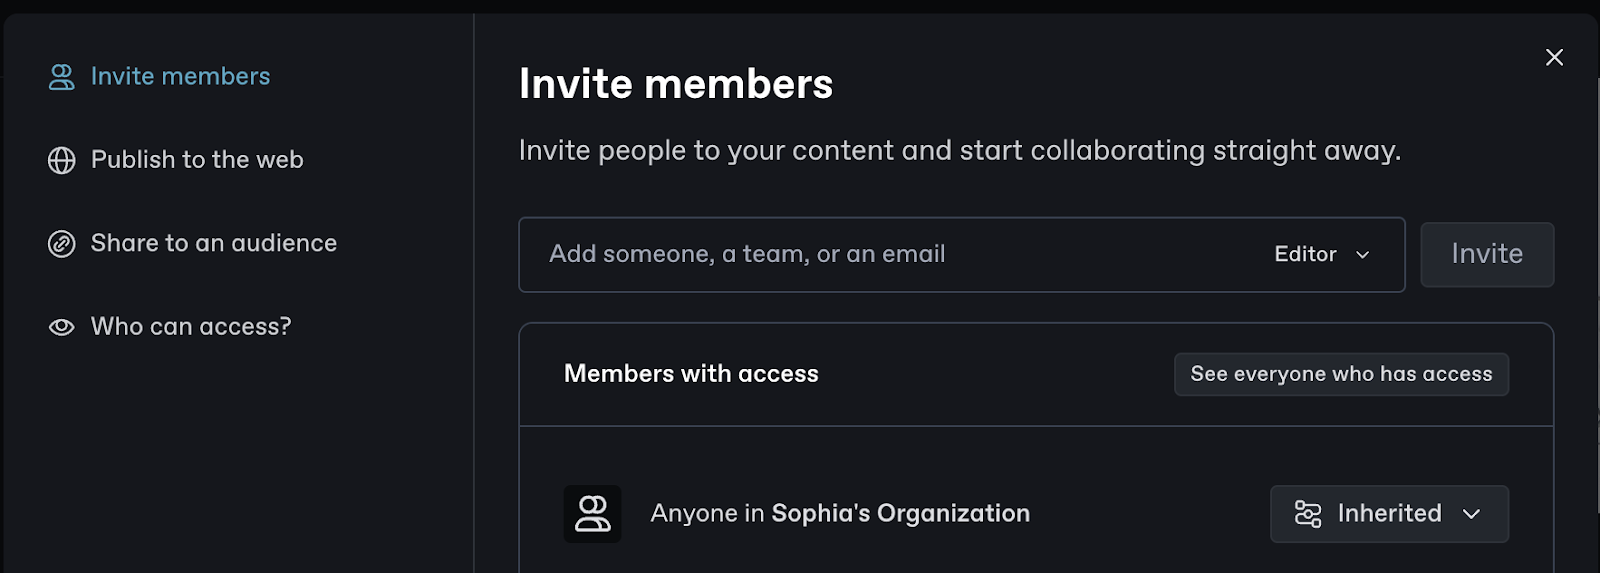
The essence of using this tool is to provide an easy way to collaborate with your teammates.
- To collaborate with your team, click on Share and add them to the project if you haven’t added them.
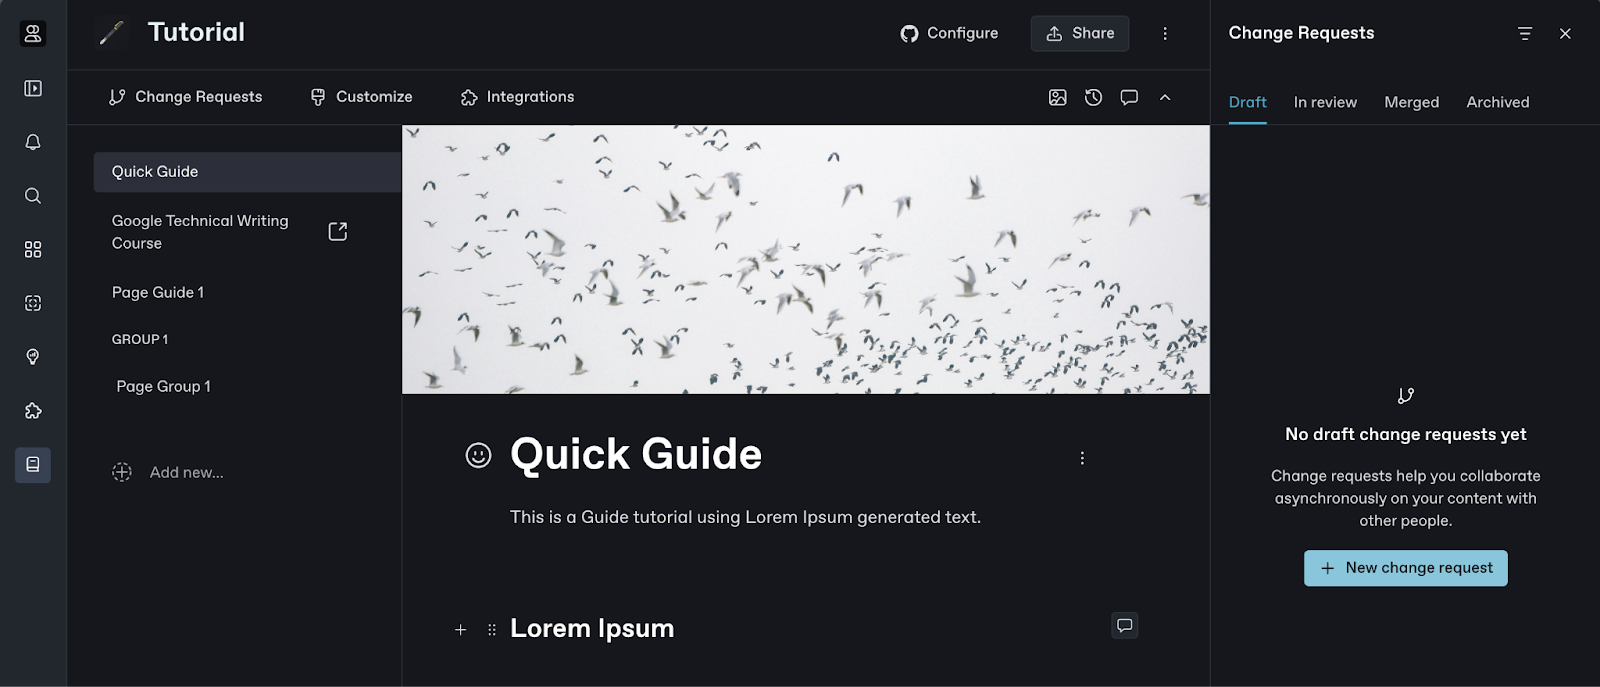
2. To view their changes or request changes, you can click Change Requests
3. To publish your documentation, click Share, select Publish on the web, and then toggle the button.
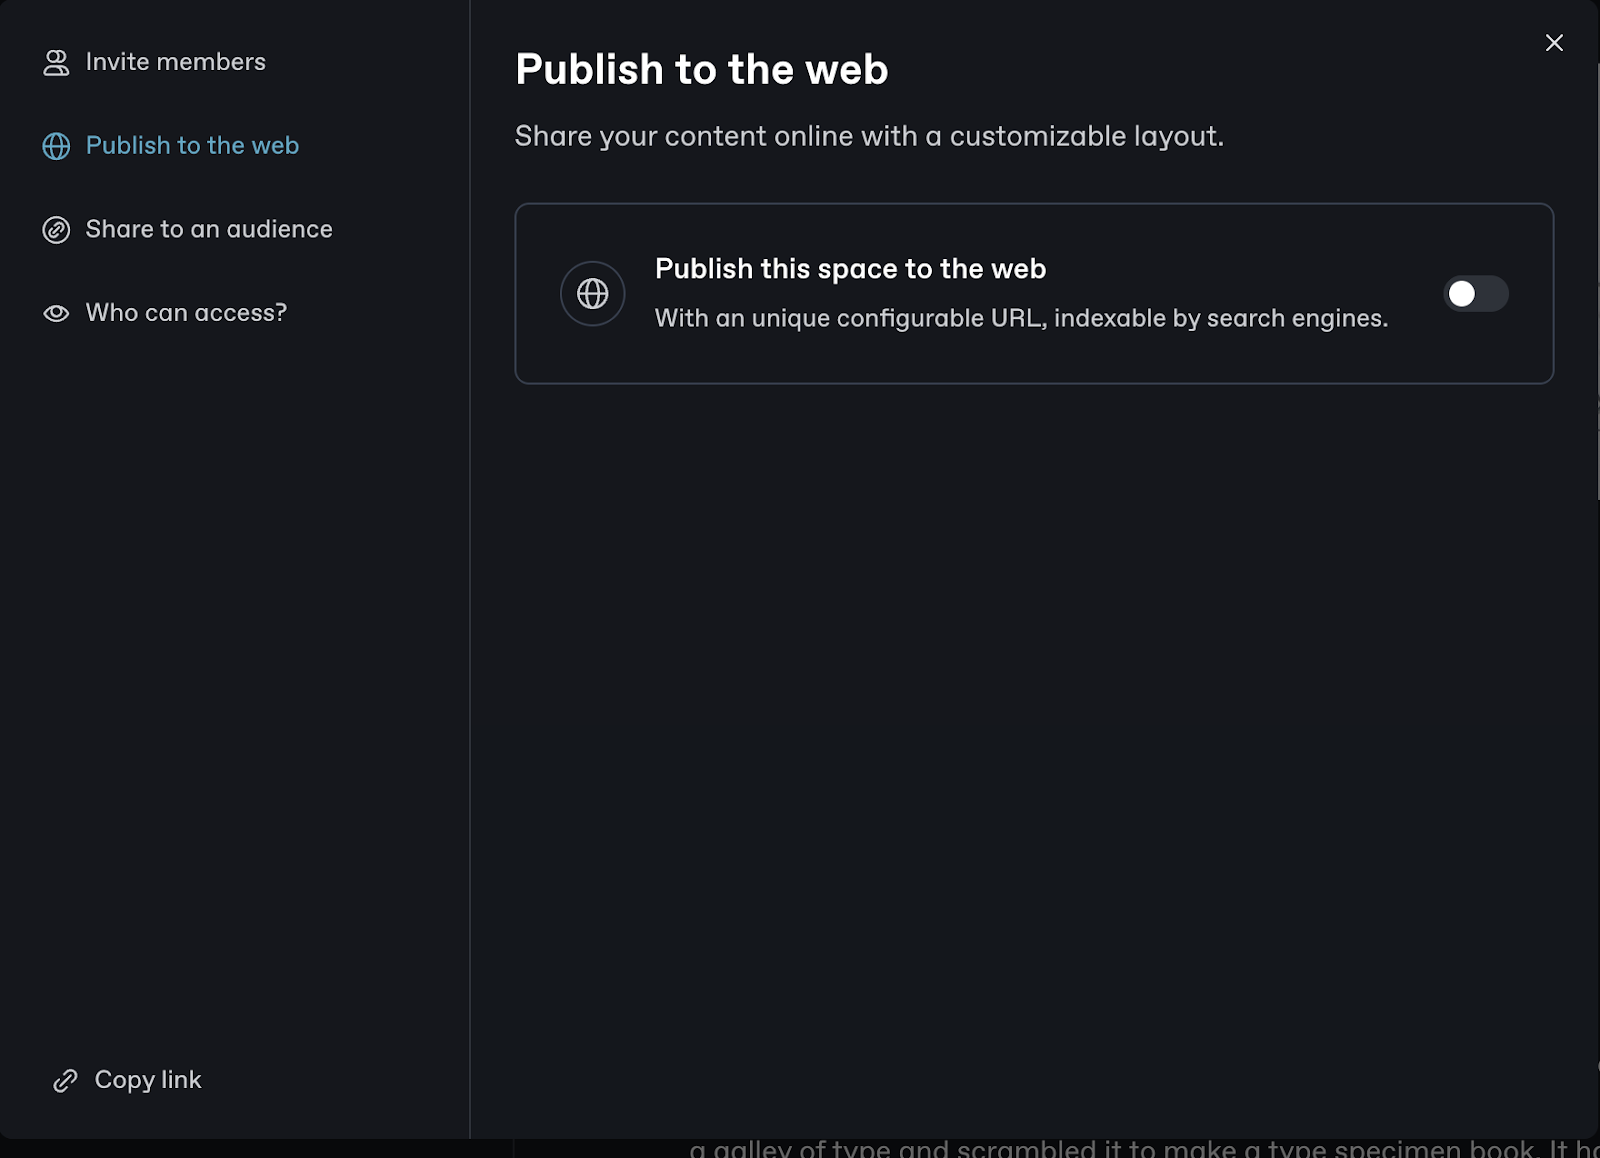
Voila! You have successfully created and published your first documentation using GitBook.
Conclusion
To sum it up, GitBook is a helpful documentation tool that makes it easy to create and collaborate on API documentation, product documentation, daily notes, internal documentation, and more.
Setting up a GitBook for your company allows you to create and share high-quality documentation that empowers your developer community. GitBook provides a structured and collaborative platform for documentation management, making it easier for developers to find the information they need and use your product or tool effectively.